



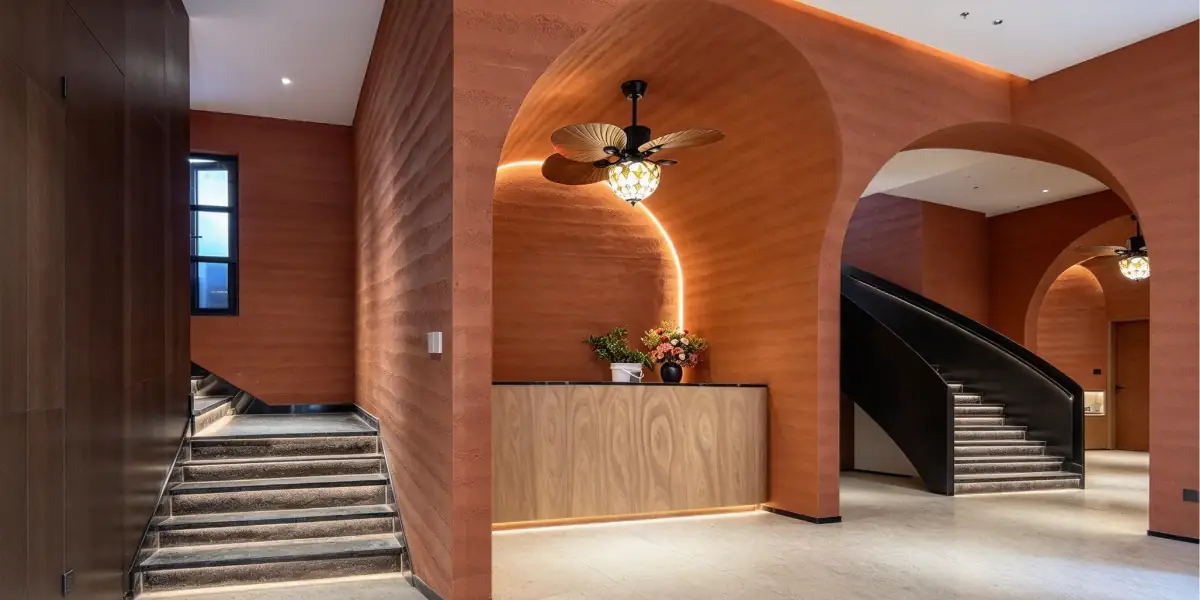
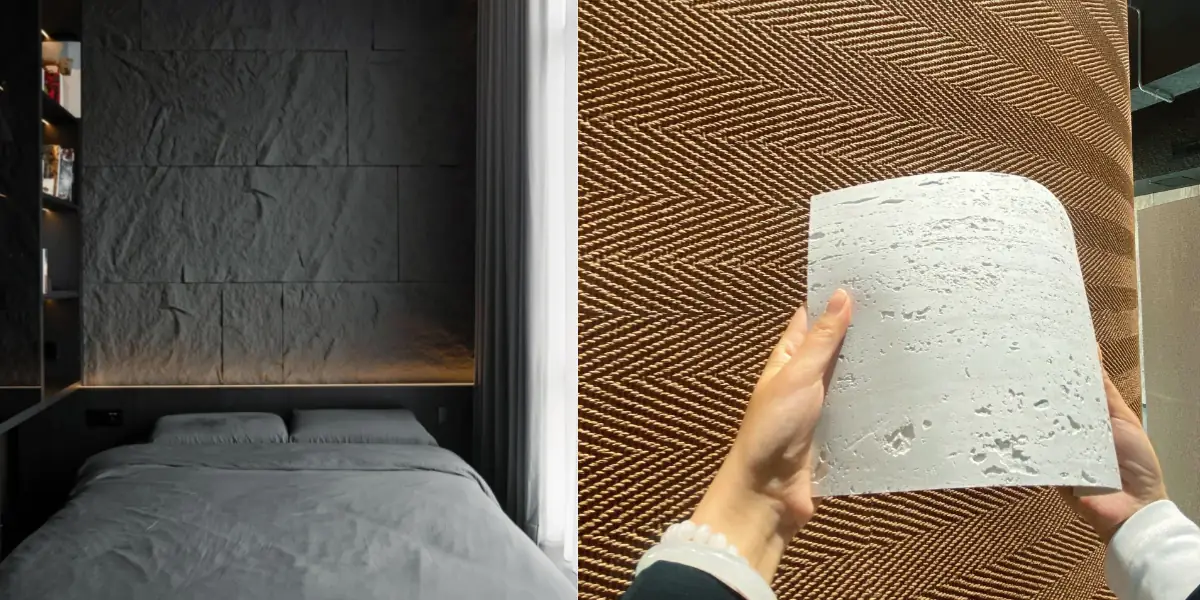
Flexible stone panels are becoming a popular choice for interior and exterior wall decoration because they combine the natural appearance of stone with a lightweight and flexible structure. Compared with traditional stone, flexible stone panels are easier to cut, transport, and install, making them suitable for residential, hotel, restaurant, retail, and commercial projects.
However, proper installation is important to achieve a smooth surface, strong adhesion, and a professional finish. If you are wondering how to install flexible stone panels on walls, this guide explains the installation process step by step, from wall preparation to panel installation and finishing.
What Tools Do You Need to Install Flexible Stone Panels?
Before starting the installation, prepare the necessary tools and materials.
Typical installation tools include:
- Flexible stone panels
- Suitable wall adhesive
- Measuring tape
- Pencil or marker
- Level
- Straight edge
- Utility knife or suitable cutting tool
- Notched trowel
- Roller or rubber pressing tool
- Caulking gun
- Clean cloth or sponge
- Safety gloves
- Dust mask and protective glasses
The exact adhesive and cutting method should always follow the panel manufacturer’s recommendations.
Step 1: Prepare the Wall Surface
When installing flexible stone wall panels, proper wall preparation is one of the most important steps.
The wall surface must be clean, flat, and free of dust, loose particles, grease, and other contaminants. The flatness deviation should generally be controlled within 3 mm. Any uneven areas should be leveled with suitable wall filler or putty.
For old walls or walls with an existing putty finish, remove any loose or peeling putty and apply an appropriate wall primer or bonding agent. Otherwise, the panels may have poor adhesion and could become loose or detach over time.
Repair any damaged areas before installation. If the wall has serious moisture or water-related problems, these issues should be resolved before installing the flexible stone panels.
For new construction or renovation projects, make sure the wall substrate is suitable for the selected adhesive and flexible stone panel system. A properly prepared substrate provides better adhesion and helps achieve a more durable and stable installation.
Step 2: Measure the Wall and Plan the Layout
Before applying adhesive, measure the wall carefully and plan the panel layout.
This step helps reduce material waste and prevents awkward cuts around corners, doors, windows, sockets, and other obstacles.
For large feature walls, it is useful to mark horizontal and vertical reference lines with a level.
When planning the layout, consider:
- Panel dimensions
- Pattern direction
- Natural-looking texture distribution
- Corners
- Windows and doors
- Electrical outlets
- Panel joints
- Areas requiring cutting
If the flexible stone panels have a continuous stone-like texture, laying out several panels in advance can help create a more consistent visual effect.
Step 3: Cut the Flexible Stone Panels
One of the advantages of flexible stone panels is that they can generally be cut more easily than traditional stone.
Measure the required size carefully and mark the cutting line on the back of the panel. Use an appropriate sharp cutting tool according to the product specifications.
For openings around:
- Electrical sockets
- Light switches
- Windows
- Doors
- Pipes
- Corners
measure twice before cutting.
For complex shapes, create a template first. This can help improve cutting accuracy and reduce material waste.
Step 4: Apply the Adhesive
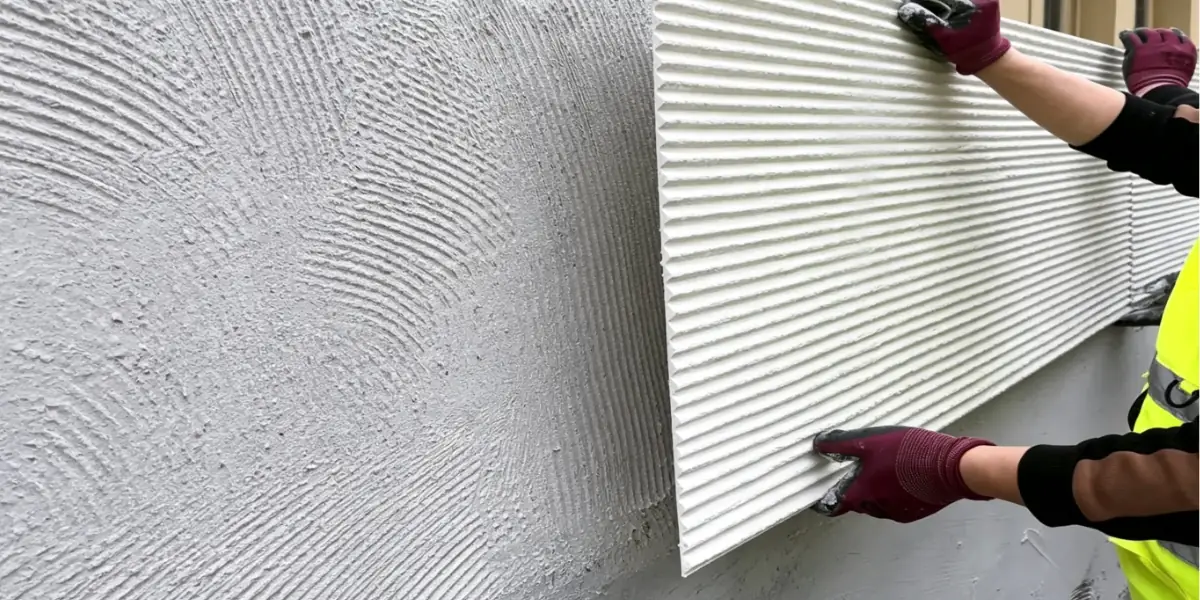
Choose an adhesive that is compatible with both the wall substrate and the flexible stone panel.
Apply the adhesive according to the manufacturer’s instructions. Depending on the product and substrate, adhesive may be applied to the wall, the back of the panel, or both.
Use a suitable trowel to distribute the adhesive evenly and avoid excessive adhesive buildup.
The goal is to create good contact between the panel and the wall without trapping large air pockets.
Do not spread more adhesive than you can cover within its working time.
Tip:
- Interior walls: Apply structural adhesive or a suitable flexible stone panel adhesive evenly to the back of the panel. The adhesive can be applied using either the spot-bonding or strip-bonding method.
- Exterior walls: Use a notched trowel to fully spread tile adhesive or a suitable flexible stone panel adhesive over both the wall surface and the back of the panel. The adhesive layer should generally be about 1–3 mm thick, with a coverage rate of more than 90% to ensure sufficient contact and adhesion.
Step 5: Install the Flexible Stone Panel
Carefully position the panel against the prepared wall.
Start from a planned reference point and work gradually across the wall. Align the panel with the reference lines and press it firmly against the adhesive.
A rubber roller or suitable pressing tool can help improve contact between the panel and the wall.
Pay particular attention to:
- Panel alignment
- Edges
- Corners
- Joints
- Surface contact
Avoid moving the panel excessively after it has been positioned, as this can affect adhesive bonding.
Step 6: Install Panels Around Corners
Flexible stone panels can be useful for walls with corners because their flexible structure may make certain corner applications easier than rigid stone materials.
For an external corner, the panel can be cut and joined according to the desired design. For some flexible stone products, the material can also be carefully shaped around a suitable curved surface.
Before bending or forming a panel, check the manufacturer’s recommended bending radius and installation method.
Do not force the material into a shape that exceeds its flexibility.
Step 7: Joint Treatment
- Interior walls: Panels are usually installed with tight joints, leaving a natural gap of about 1–2 mm. For panels with uneven or three-dimensional surface textures, tight joints can help minimize visible height differences between adjacent panels.
- Exterior walls: Expansion joints should be left between panels, typically around 8–10 mm, to help prevent water penetration and accommodate thermal expansion and contraction. Before filling the joints, apply masking tape along both sides of the joint. Then use a color-matched joint sealant or repair compound to fill the gap. Compact and smooth the material with a jointing tool, then clean the panel surface with a damp sponge.
Cleaning and Maintenance
After installation, avoid disturbing the panels for at least 24 hours. Keep the surface away from water until the adhesive has fully cured. For routine cleaning, simply wipe the surface with a soft sponge or damp cloth. Avoid using acidic cleaning agents, as they may damage the surface finish.
How Long Does It Take to Install Flexible Stone Panels?
The installation time depends on the wall size, substrate condition, panel dimensions, cutting requirements, design complexity, and installer experience.
Compared with traditional stone installation, flexible stone wall panels can simplify handling and installation because they are lightweight and easier to cut.
For a simple flat feature wall, installation can generally be completed more quickly than a comparable traditional stone application. However, complicated patterns, multiple corners, windows, or irregular surfaces will require additional preparation and cutting time.
Can Flexible Stone Panels Be Installed on Curved Walls?
One of the major advantages of flexible stone panels is their ability to adapt to certain curved or irregular surfaces.
They can be considered for applications such as:
- Curved columns
- Rounded walls
- Arched surfaces
- Decorative pillars
- Curved reception counters
- Feature structures
However, flexibility varies between products. Always check the product’s technical specifications before installing it on a curved surface.
Common Mistakes When Installing Flexible Stone Panels
Avoiding installation mistakes can significantly improve the final appearance and durability of the wall.
1. Installing on a Dirty Wall
Dust, grease, and loose materials can reduce adhesive bonding.
2. Skipping Wall Preparation
An uneven or damaged substrate can cause poor contact and visible surface problems.
3. Using the Wrong Adhesive
Not every adhesive is suitable for every flexible stone panel or wall substrate. Select an adhesive recommended for the specific application.
4. Cutting Without Planning
Incorrect measurements can result in unnecessary material waste, especially around windows, doors, and electrical outlets.
5. Ignoring the Panel Pattern
Installing panels without considering texture direction can make the finished wall look inconsistent.
6. Applying Too Much Adhesive
Excessive adhesive can create uneven areas and make positioning more difficult.
7. Installing Without Checking Alignment
Small alignment errors can become increasingly noticeable as more panels are installed.
Conclusion
Learning how to install flexible stone panels on walls is relatively straightforward when the wall is properly prepared and the correct installation materials are used. The basic process involves preparing the surface, measuring and planning the layout, cutting the panels, applying adhesive, positioning the panels, and finishing the joints and edges.
Because flexible stone panels are lightweight, easy to cut, and adaptable to different surfaces, they offer a practical alternative for many decorative wall applications. With proper installation, they can create the visual effect of natural stone while making transportation and wall installation easier.
If you are looking for flexible stone panels for hotel, residential, restaurant, or commercial wall projects, working with an experienced manufacturer can help you select the right texture, size, thickness, and installation solution for your project.
Chili New Materials provides flexible stone and decorative wall panel solutions for different architectural and interior applications. Contact us for product details, samples, and project support.